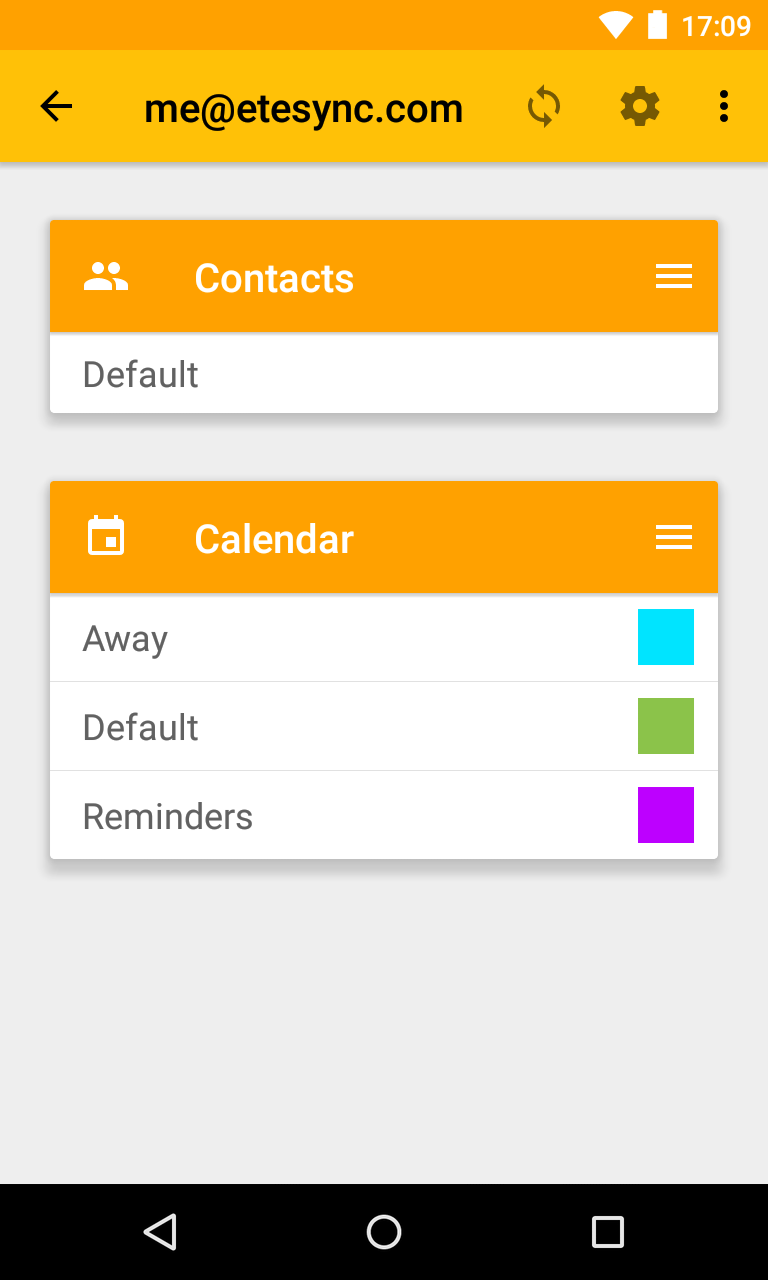
Initial Setup


Startup Screen

This is the main screen of the application. On the first run the application, depending on your Android version, may ask you for permissions needed for correct operation, namely access to contacts and calendars, and disabling battery optimization. Please approve them for correct operation of the app.

When done, click on the icon to add a new account.
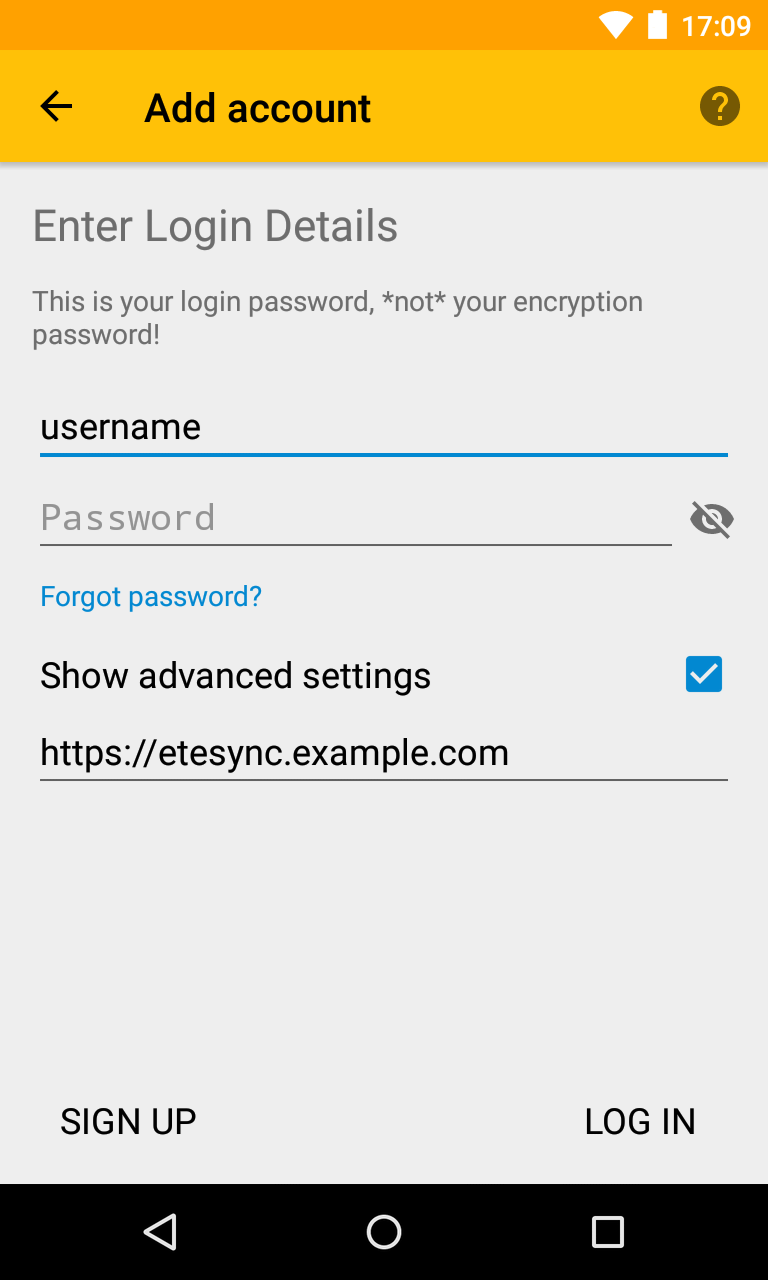
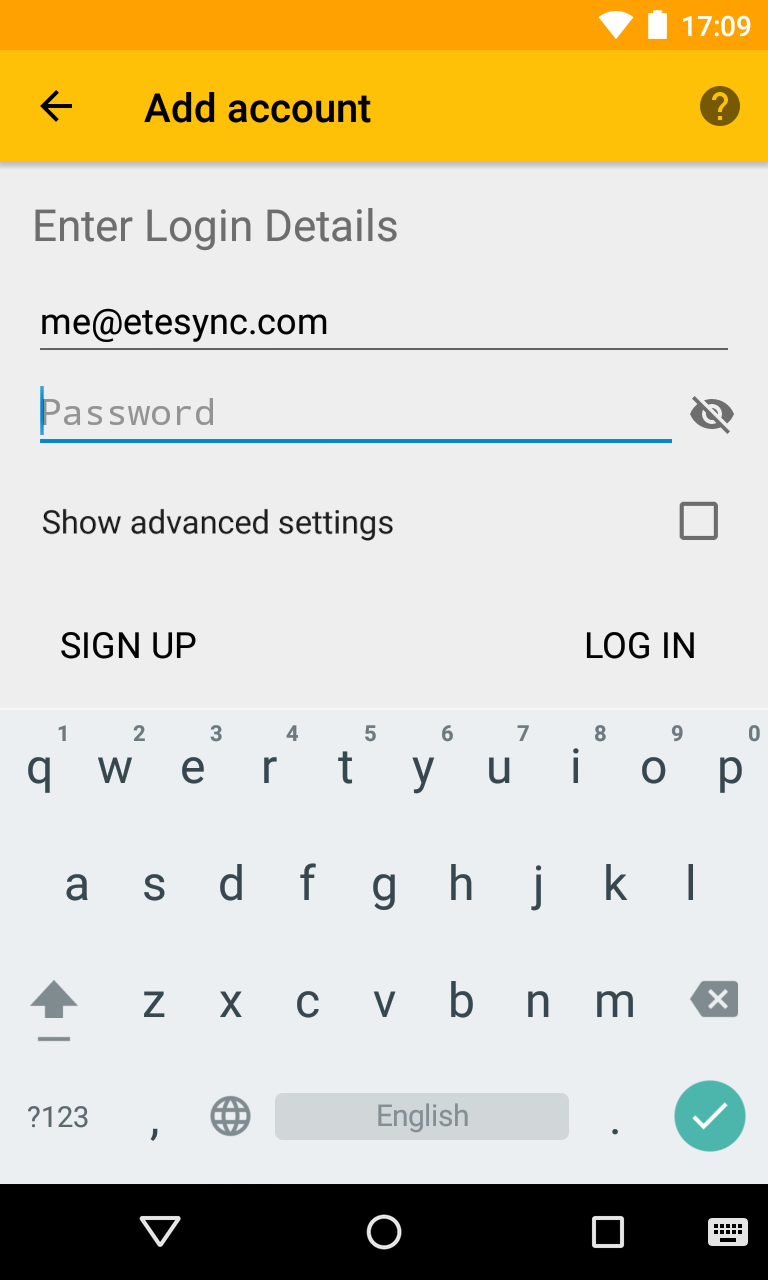
Add Account (Login)

Enter your username and password to log in to the service. After entering your username and password, please click LOG IN to continue.

If you don't already have an account, please click SIGN UP to create a new account.
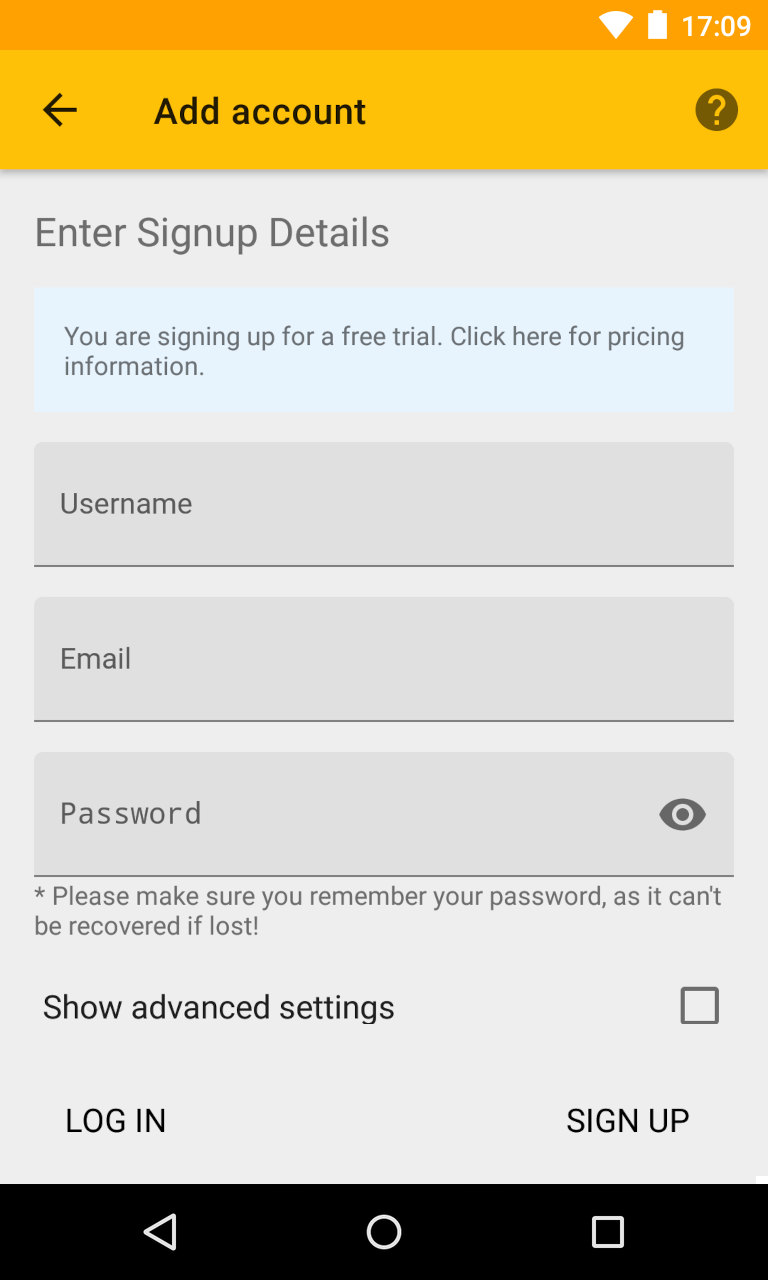
Sign Up

You can skip this section if you already have an account.

If you don't already have an account you would need to create one. Please enter a username and password.

This password is used to encrypt your data, and therefore can't be recovered if lost. Please make sure to keep it safe.

After clicking Sign Up you will be sent a confirmation email, and after confirming your email address you will be able to start using your account for a short trial period after which you would have to add payment information to your account from the dashboard (link in accout settings).

Import Contacts and Calendars

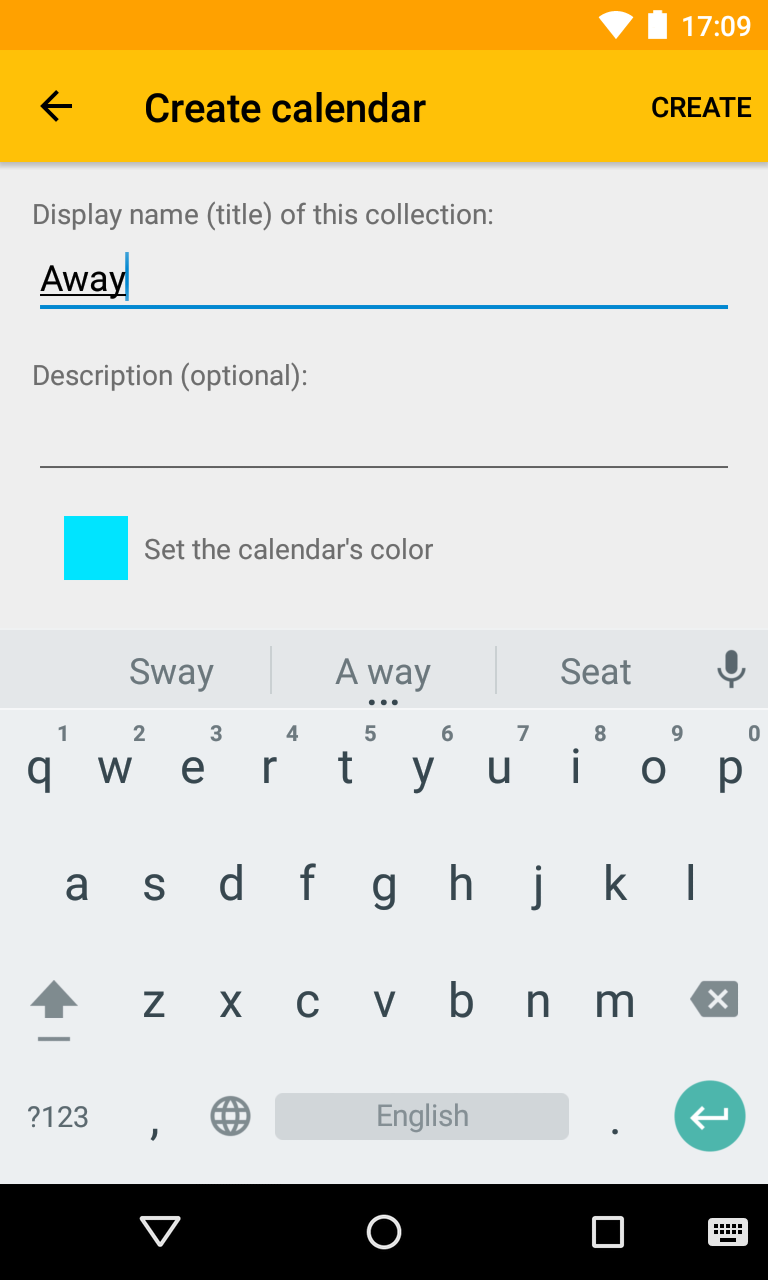
EteSync supports importing either from file (vCard and iCal), or from an account on the device (for example a Google account). To import, open a collection view (by clicking on one of the default collections from the account page), and choose import from the menu ( icon at the top-right corner).

Usage


Calendar: Add Event

You use the same calendar application you already use. This step may look different to the screenshot depending on what calendar application you use, but the concept is similar. You can now add events like you normally would, just make sure to choose the correct calendar. In the Google Calendar app, the relevant section is the Reminders (me@etesync.com).

Everything else is the same.

Calendar: Show and Hide

Like with every other calendar provider (for example Google), you can choose which calendars to show and hide. For example, here I chose to hide Reminders and show the rest.

Contacts: Add Contact

The workflow for adding a contact is also dependant on your application, but is exactly the same to what it was before. You use the same contacts application you used previously, and just need to make sure you are adding to the correct account (the top row in the screenshot).

In most contact applications you can control which contact accounts are shown by going to Settings and hitting Contacts to display and choosing the wanted accounts. Make sure to enable EteSync if not already present.

Viewing the Change Log

At the moment EteSync only lets you view the change log, reverting changes is not yet supported.

This is subject to change as EteSync evolves, but until then it's an easy way to see what is actually saved in the collection, and it makes it possible to manually view the changes, and manually restore lost information. This screen also exposes a few basic stats, like for example, the number of events in a calendar and the number of entries in the change log.

Extra Setup


Manage Calendars and Address Books

You can add and remove calendars and address books as you please (there must be at least one of each).

For example, in order to delete a calendar, click on the wanted calendar item. In the calendar page click on the icon, and then the icon to delete. To add a calendar, click on the icon near the Calendar title, and choose Create new calendar, then follow the next step.

Add a Calendar or Address Book

Fill in the fields on this page, and click Create to create a new calendar. Afterwards you can use it like any other.

Fields:

  • Display name: How the calendar will look in the main list and calendar applications.
  • Description: An optional description of the calendar.
  • Color: Hit the color-box to change the color that will be used for calendar events in calendar applications.

The same applies to address books.

Running your own instance (self-host) advanced

Thanks to the way EteSync is designed, there is very little benefit in running your own instance, however, if you still wish to do so, please follow the instructions.

After you have sucessfully set up your own instance, and verified it works by connecting to it from the browser, go to the "Add account" page, tick the "advanced settings" box, and fill-in your server's URL. That's it!